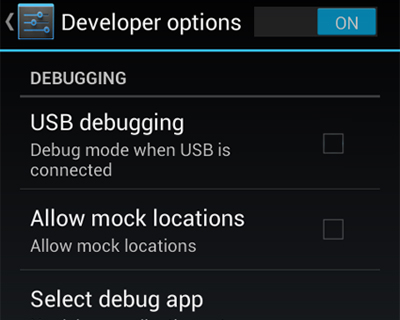
Android 101: How to Enable USB Debugging Mode in Android
I’ve written this tutorial for Android users… This article will surely help them enable USB Debugging Mode in their Android phone. Now, let me just tell you a little bit more about USB Debugging Mode. What it is? Why use it? and When? There are many great built-in features that Android provide, and many of them are advanced. USB Debugging mode is one of them. It’s a feature that all users can benefit from.
USB Debugging Mode is a mode that can be enabled in Android to identify and remove errors from (computer hardware or software), after connecting the device directly to a computer with a USB cable. Basically, let me just tell you that the primary work that this mode does, is to facilitate a connection between your computer and Android device with the help of Android SDK (software development kit).
Note: It is a series article from our Android 101 basics which stands for covering all the basic tutorials about Android like How to install Third Party Apps, How to download APK files of Android Apps, and more..
Why Enable USB Debugging Mode?
USB Debugging Mode will permit you a level of access that goes with your Android device. You will need this level of access (It’s important) when coding a new app. However, there are also many a few non-development-related benefits if Enable USB debugging mode. This new level of access can give you much more freedom of control over your device.

How to Enable USB Debugging Mode?
You may have noticed that USB Debugging frequently. Because, this feature of Android isn’t something that you take benefit of on a daily basis unless you’re coding an app. It really saves you a lot of time, effort, and even money. If you have any questions about USB Debugging, please ask in the comments. I’ll try my best to answer them.
