Best Settings for W3 Total Cache WordPress Plugin
If you have ever used WordPress CMS then you maybe familiar with W3 total cache WordPress plugin the best ever plugin that helps you to enable a quick caching system on your WordPress sites. As you may know that caching is very important to any website in order to get your site audience an up to dated version of your site.
However, you might wanna know that we wrote a big guide on how to setup w3 total cache plugin and for some reasons the guide is no longer working because of latest updates in WordPress core and w3 total cache updates. So I decided to share the best settings for w3 total cache WordPress plugin that actually works.
In this article, you will find how to use w3 total cache and a zip file of recommended settings.
Note: You might ask the question about why this plugin? Well, simply because it is compatible with shared hosting, virtual private / dedicated servers and dedicated servers / cluster.
Benefits of using Best Settings for W3 Total Cache
I’m pretty sure if you use the best settings for w3 total cache then you will be able to fix following problems in your site:
- Leverage browser caching
- Enable gzip compression
- Configure entity tags (ETags)
- Compress components with gzip
- Minify JavaScript and CSS
- and more…
Best Settings for W3 Total Cache
Follow the steps below to be able to make your site faster and enable the caching for your site and starting saving your server resource usage:
- Install and activate w3 total cache
- You may have noticed that Performance section to your WordPress admin sidebar after plugin’s activation
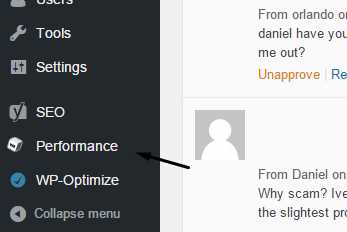
- Now, you have to mouse hover over Performance tab and click on General Settings
On the General Settings page please tick to enable the following things:
- Page Cache
- Minify (Mode: Auto)
- Database Cache
- Object Cache
- Database Cache
- Browser Cache
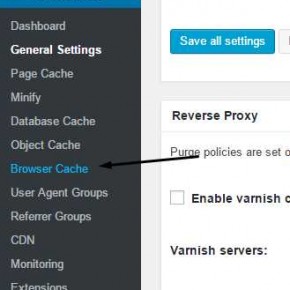
Alright, once you enabled the above settings then click Browse Cache internal settings link like:
Browser Cache General Settings:
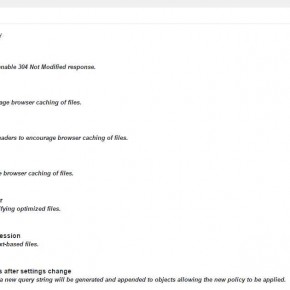
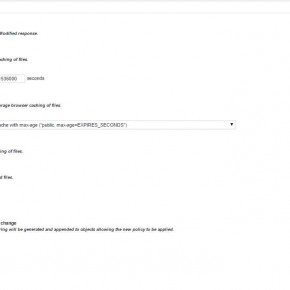
Just go over browser cache and tick the boxes as mentioned in the following screenshots 😉
Once you are done, that’s all.
These are the best settings for w3 total cache settings so far. If anyone have any suggestion to improve the best settings of w3 total cache here, comment below.
Direct download file for best settings for w3 total cache.


Hello,
Thanks for sharing the easy tips and for file.
I have uploaded your given file and get following response.
Before upload:
PageSpeed Score “C”
YSlow Score “C”
Page Load Time 1.4s
But Now:
PageSpeed Score “A”
YSlow Score “B”
Page Load Time 2+s
Overall performance good but loading time increased 🙁
Kindly let me know how I can revert your setting and get back the W3 total cache actual setting?
Thanks
Usman
no, you try checking the speed again. Everything is fine.