How to Create Site-Specific WordPress plugin
WordPress is one of the best content management system everyone knows that, it let’s you customize each single code within your site.
I was redesigning Softstribe and came across many errors like, sidebar disappearance, header missing and so on because I have custom codes in theme functions.php which was causing problems. Sooner I realized it and decided to create site-specific WordPress plugin to prevent errors.
Due to mess amount of custom functions in your functions.php file, your theme might become lazy and don’t properly work sometime. Also, it is not a good practice to put every new custom function in theme functions.php file. When you do development with your custom codes it is better to create separate site-specific plugin.
This is exactly why I’m writing this article.
How to create site-specific WordPress plugin
Following are the steps that you have to follow in order to create site-specific WordPress plugin:
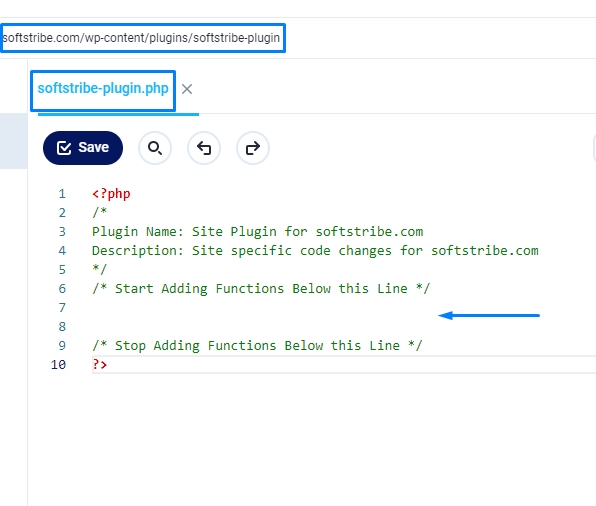
<?php
/*
Plugin Name: Site Plugin for softstribe.com
Description: Site specific code changes for softstribe.com
*/
/* Start Adding Functions Below this Line */


/* Stop Adding Functions Below this Line */
?>
Check this, I have added the code below.

Login to your WordPress site and go to Plugins where you will see your plugin in inactive state.
Simply, click on activate link to activate the plugin.

Caution: Make sure that you don’t put function names with same names as your theme function because they will conflict with each other. Just create your own unique functions to put inside of your site-specific plugin.
