Install Turn The Lights ON Android in PC (Windows 11/10/7 and Mac)
![]()
In Puzzle
by Developer
RADEFFFACTORY
Last Updated:
September 24, 2020
If you are interested in installing Turn The Lights ON on your PC, there are 3 ways to do so using BlueStacks, LDPLayer, Nox app player like emulators. Alternatively, you can use any of the following BlueStacks alternatives. Read the rest of the article to learn more about how to install Turn The Lights ON on your PC.
This tutorial guide helps you download and install Turn The Lights ON in PC and you can install Turn The Lights ON 8.2 in your Windows PC and Mac OS. This app is developed by RADEFFFACTORY and listed under Puzzle.
Download and Install Turn The Lights ON in PC (Windows and Mac OS)
Following are the 3 methods to install Turn The Lights ON in PC:- Install Turn The Lights ON in PC using BlueStacks
- Install Turn The Lights ON in PC using Nox emulator
- Install Turn The Lights ON in Windows 11 in PC
1. Install Turn The Lights ON in PC using BlueStacks
BlueStacks is an Android App Player that allows you to run Android apps on PC. To install an Android app on your PC using BlueStacks, follow the steps below:
- Step 1: Install BlueStacks on your PC
- Step 2: Launch BlueStacks on your PC
- Step 3: Click the "My Apps" button in the emulator once BlueStacks is launched.
- Step 4: Search for the app you want to install i.e. Turn The Lights ON
- Step 5: From the search results, select the Turn The Lights ON app and install it.
- Step 6: To download apps from Google Play on BlueStacks, login to your Google account.
- Step 7: After logging in, the installation process for Turn The Lights ON will begin, which will depend on your internet connection.
Hints: If you are having LOADING issue with BlueStacks software simply install the Microsoft .NET Framework in your PC.
Note: If you are Mac user, you need to download BlueStacks for Mac (a .dmg installation file).
Read also: LDPlayer vs Bluestacks (Pros & Cons)
2. Install Turn The Lights ON in PC with Noxplayer
To install and use the Turn The Lights ON app on your PC using Nox App Player, follow the steps below:
- Step 1: Install Nox App Player on your PC.
- Step 2: Once installed, run Nox App Player on your PC and login to your Google account.
- Step 3: In the Nox App Player, click on the "Searcher" icon and search for the Turn The Lights ON app.
- Step 4: Select the Turn The Lights ON app from the search results and install it on your Nox emulator.
- Step 5: Once the installation is completed, you will be able to play Turn The Lights ON on your PC using Nox App Player.
For a detailed guide on Noxplayer Installation, see this page.
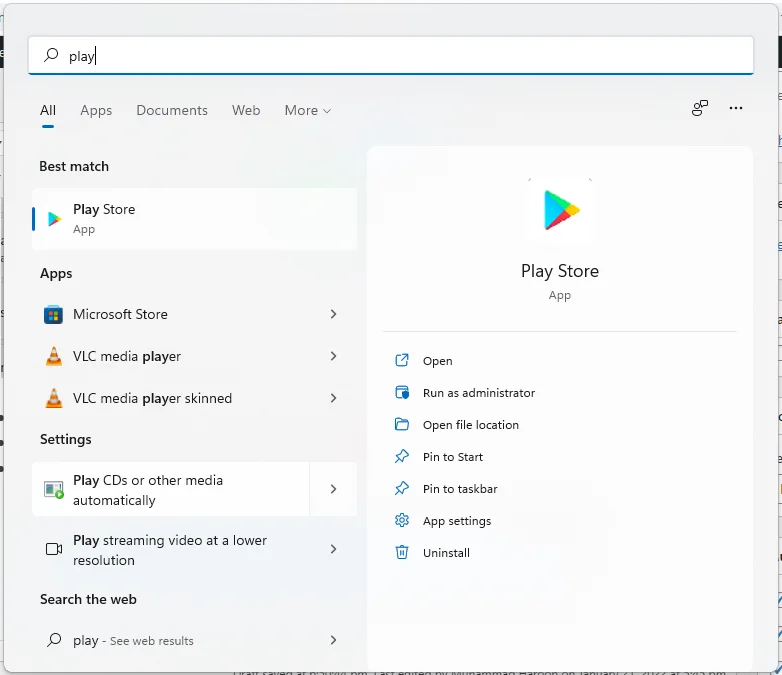
3. How to Install Turn The Lights ON in Windows 11
To install Turn The Lights ON on your Windows 11 device, please follow the tutorial below.
- Step 1: Install Windows Subsystem for Android according to the tutorial.
- Step 2: Once you have successfully installed Windows Subsystem for Android, proceed to install Google Play Store on Windows 11.
- Step 3: Using Google Play Store on your Windows 11 device, search for the Turn The Lights ON app that you wish to install.
- Step 4: Select the Turn The Lights ON app from the search results, and install it just as you would on an Android device.
Conclusion: After following the above 3 methods, you can easily run Turn The Lights ON on your Windows or macOS systems.
Turn The Lights ON APK file details:
| Best Android Emulators | Bluestacks & Nox App Player |
| Operating Systems | Windows 7,8/10/11 or Mac |
| App Developer | RADEFFFACTORY |
| App Updated | September 24, 2020 |
| APK Version | 8.2 |
| Category | Puzzle |
| Android Version Required for emulator | Android 7.0 and up |
| APK File Size | 0.00 MBs |
| File Name | radefffactory-lights-on-8-2_SOFTSTRIBE.apk |
Other Apps by the Same Developer:
Related Apps
-

Bubble Witch 3 Saga in PC (Windows 7, 10, or 11) -

Skills - Logic Brain Games in PC (Windows 7, 10, or 11) -
Diggy's Adventure: Maze Games in PC (Windows 7, 10, or 11) -
Cut the Rope FULL FREE in PC (Windows 7, 10, or 11) -
Merge Dragons! in PC (Windows 7, 10, or 11) -

Crazy Dino Park in PC (Windows 7, 10, or 11) -
Antistress in PC (Windows 7, 10, or 11) -

Mind Games in PC (Windows 7, 10, or 11) -
Words Crush: Hidden Words! in PC (Windows 7, 10, or 11) -

Candy Crush Jelly Saga in PC (Windows 7, 10, or 11) -

Omino! in PC (Windows 7, 10, or 11) -

Brain Dots in PC (Windows 7, 10, or 11) -
Block Puzzle in PC (Windows 7, 10, or 11) -
Toy Blast in PC (Windows 7, 10, or 11) -
Flow Free in PC (Windows 7, 10, or 11) -
Cradle of Empires - Match 3 Game. Egypt jewels in PC (Windows 7, 10, or 11) -

Love Balls in PC (Windows 7, 10, or 11) -

Lyfoes (free) in PC (Windows 7, 10, or 11) -
Marble Woka Woka: Marble Puzzle & Jungle Adventure in PC (Windows 7, 10, or 11) -
Bubble Shooter: Panda Pop! in PC (Windows 7, 10, or 11)


