
Install Parallels Client Android in PC (Windows 11/10/7 and Mac)
In Business
by Developer
Parallels International GmbH
Last Updated:
February 21, 2024
If you are interested in installing Parallels Client on your PC, there are 3 ways to do so using BlueStacks, LDPLayer, Nox app player like emulators. Alternatively, you can use any of the following BlueStacks alternatives. Read the rest of the article to learn more about how to install Parallels Client on your PC.
This tutorial guide helps you download and install Parallels Client in PC and you can install Parallels Client 19.3.2.24617 in your Windows PC and Mac OS. This app is developed by Parallels International GmbH and listed under Business.
Download and Install Parallels Client in PC (Windows and Mac OS)
Following are the 3 methods to install Parallels Client in PC:- Install Parallels Client in PC using BlueStacks
- Install Parallels Client in PC using Nox emulator
- Install Parallels Client in Windows 11 in PC
1. Install Parallels Client in PC using BlueStacks

BlueStacks is an Android App Player that allows you to run Android apps on PC. To install an Android app on your PC using BlueStacks, follow the steps below:
- Step 1: Install BlueStacks on your PC
- Step 2: Launch BlueStacks on your PC
- Step 3: Click the "My Apps" button in the emulator once BlueStacks is launched.
- Step 4: Search for the app you want to install i.e. Parallels Client
- Step 5: From the search results, select the Parallels Client app and install it.
- Step 6: To download apps from Google Play on BlueStacks, login to your Google account.
- Step 7: After logging in, the installation process for Parallels Client will begin, which will depend on your internet connection.
Hints: If you are having LOADING issue with BlueStacks software simply install the Microsoft .NET Framework in your PC.
Note: If you are Mac user, you need to download BlueStacks for Mac (a .dmg installation file).
Read also: LDPlayer vs Bluestacks (Pros & Cons)
2. Install Parallels Client in PC with Noxplayer
To install and use the Parallels Client app on your PC using Nox App Player, follow the steps below:
- Step 1: Install Nox App Player on your PC.
- Step 2: Once installed, run Nox App Player on your PC and login to your Google account.
- Step 3: In the Nox App Player, click on the "Searcher" icon and search for the Parallels Client app.
- Step 4: Select the Parallels Client app from the search results and install it on your Nox emulator.
- Step 5: Once the installation is completed, you will be able to play Parallels Client on your PC using Nox App Player.
For a detailed guide on Noxplayer Installation, see this page.
3. How to Install Parallels Client in Windows 11
To install Parallels Client on your Windows 11 device, please follow the tutorial below.
- Step 1: Install Windows Subsystem for Android according to the tutorial.
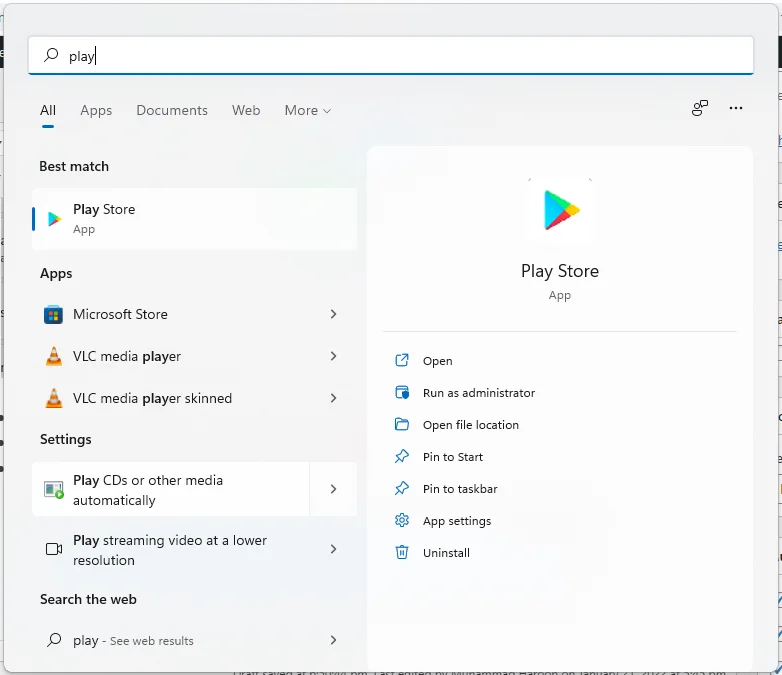
- Step 2: Once you have successfully installed Windows Subsystem for Android, proceed to install Google Play Store on Windows 11.
- Step 3: Using Google Play Store on your Windows 11 device, search for the Parallels Client app that you wish to install.
- Step 4: Select the Parallels Client app from the search results, and install it just as you would on an Android device.
Conclusion: After following the above 3 methods, you can easily run Parallels Client on your Windows or macOS systems.
Parallels Client APK file details:
| Best Android Emulators | Bluestacks & Nox App Player |
| Operating Systems | Windows 7,8/10/11 or Mac |
| App Developer | Parallels International GmbH |
| App Updated | February 21, 2024 |
| APK Version | 19.3.2.24617 |
| Category | Business |
| Android Version Required for emulator | Android 7.0 and up |
| APK File Size | 39.39 MBs |
| File Name | com-parallels-client-19-3-2-24617_SOFTSTRIBE.apk |
Related Apps
-
Meta Business Suite in PC (Windows 7, 10, or 11) -

GoBiz in PC (Windows 7, 10, or 11) -
Google Meet (original) in PC (Windows 7, 10, or 11) -
LinkedIn in PC (Windows 7, 10, or 11) -
Fiverr in PC (Windows 7, 10, or 11) -

Jazz World in PC (Windows 7, 10, or 11) -

ZOOM Cloud Meetings in PC (Windows 7, 10, or 11) -
Meta Ads Manager in PC (Windows 7, 10, or 11) -
Google My Business in PC (Windows 7, 10, or 11) -

M91 - Crypto Super in PC (Windows 7, 10, or 11) -

Free VPN by Free VPN .org™ in PC (Windows 7, 10, or 11) -
Amazon Seller in PC (Windows 7, 10, or 11) -

Binomo in PC (Windows 7, 10, or 11) -

LinkedIn SlideShare in PC (Windows 7, 10, or 11) -
WPS Office-PDF,Word,Sheet,PPT in PC (Windows 7, 10, or 11) -
Clear Scan PDF Scanner in PC (Windows 7, 10, or 11) -

Alibaba.com in PC (Windows 7, 10, or 11) -
Adobe Scan in PC (Windows 7, 10, or 11) -
Slack in PC (Windows 7, 10, or 11) -
Google Chat in PC (Windows 7, 10, or 11)