How to: Verify Google Analytics in WordPress Manually?
Why Google Analytics?

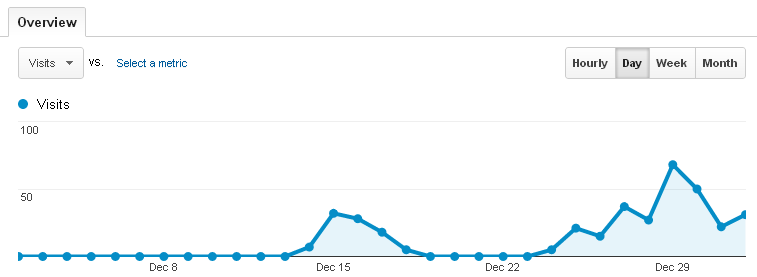
The part why Google Analytics, because there is wide range of identifying the source to know who visits your site. Google Analytics track all that inorganic and organic data, and show that reports to us. This will show you about how your visitor came on your site either using search engines or by social media. This program will show you all the reports including the traffic sources, visits both (unique and returning each day), the pageviews, avg. duration of visitors how often they read your blog content and bounce away and also show you the right now real-time traffic source visitors.
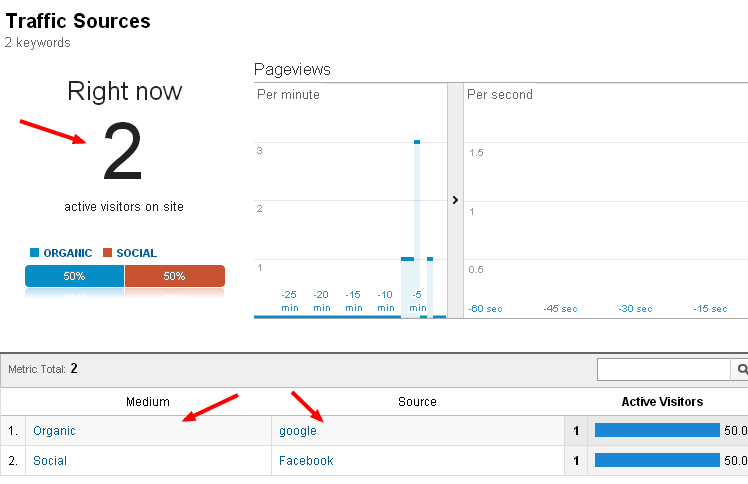
Here a Real-Time Traffic Source by Google Analytics
This tutorial will teach you about how you can verify your Google Analytics site profile without using a plugin. There is also a list of Top 10 WordPress plugins that enable us to verify our Google Analytics profile just by adding profile ID (UA-xxxxxxxx-x) code at certain place in plugin settings page which is the most easy way of verifying your Google Analytics profile rather than locating the codes in WordPress template.
Verify Google Analytics in WordPress
1. Sign-in to Google Analytics
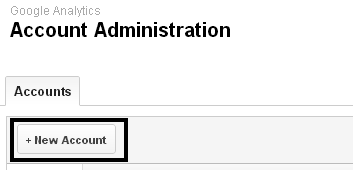
2. Admin > New Account from the left hand side
3. Fill out the complete information regarding your site

4. On the next page you’ll see Google Analytics tracking code like this:
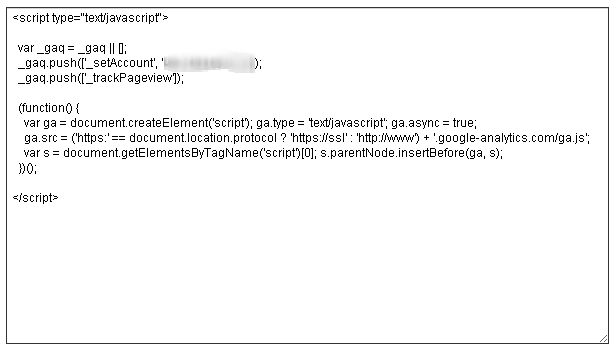
5. Copy the Google Analytics tracking code and paste that code before closing </head> tag in header.php file or before closing tag </body> in footer.php by going to Appearance > Editor > Header/Footer
![]()
Verifying Google Analytics in Genesis
1. Go to Genesis > Theme Settings
2. Scroll at the bottom of the page and paste the code either in wp_head or wp_footer like this:
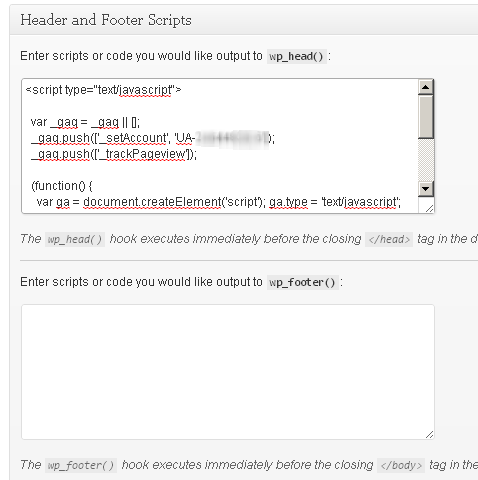
3. Click the button Save Settings
Verifying Google Analytics in Thesis
1. Go to Thesis > Site Options
2. Click Additional Scripts and then add the Google tracking code in text-area
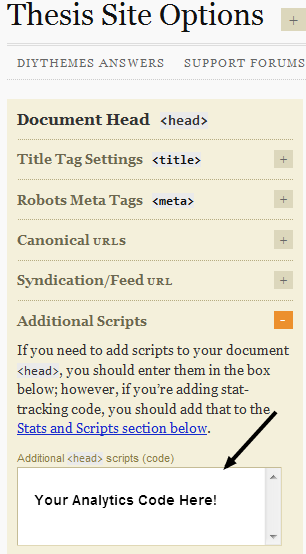
3. Save all the changes now. You did it!