How to Backup Your WordPress Site Completely (Manual Way)
[This post is part of WordPress Security series. If you care about your WP site, do follow the series!]
What is a “complete” backup?
Well we’re talking about WordPress backup. And the kind of backup we’re talking about is one that is there for you when you want to restore your site (when it’s down or corrupted), more essentially when you need to. Here is what a “complete” WordPress backup looks like:
- Mysql Database
- Installed themes list
- Uploads directory
- WordPress XML export
- Installed plugins list
So in this article, we are going to learn how to backup your WordPress site completely in a manual way, rather than via third-party services or plugins. The reason for doing this by hand is because you don’t have to rely on other plugins or third-party services and it’s simply safer. This article is divided into X steps. Each step is concerned about dealing with associated task. We will start up with backing up Mysql backup via phpMyAdmin, downloading uploads’ directory, WordPress XML file and making sure we have themes and installed plugins’ list (so we can install them later).
Let’s dive in.
Backing up MySql database via Phpmyadmin
phpMyAdmin is a free tool written in PHP to handle the management of MySQL over web. It comes with most cPanels and has made management of database easier by providing an graphical user interface. We shall use phpMyAdmin to download WordPress site MySQL database. Follow the steps:
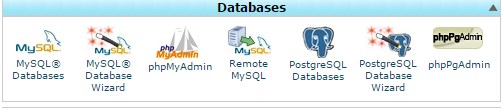
- Login to your cPanel
- Click Phpmyadmin under Databases
- It might require you to login (login, if that’s the case)
- Select database name associated with your site from left sidebar
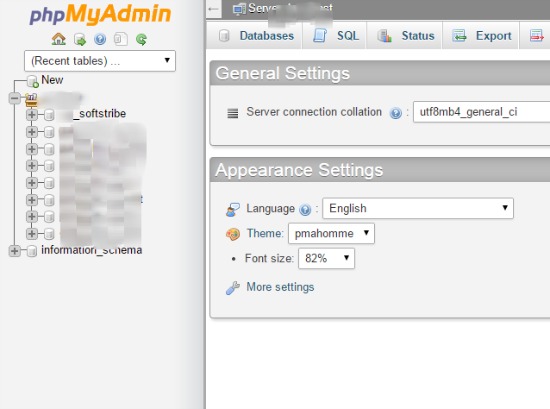
- On the next page, you will see list of tables that reside within your site database. These simply contain different type of data like comments, posts, etc. Ignore the tables and click Export located right above the tables
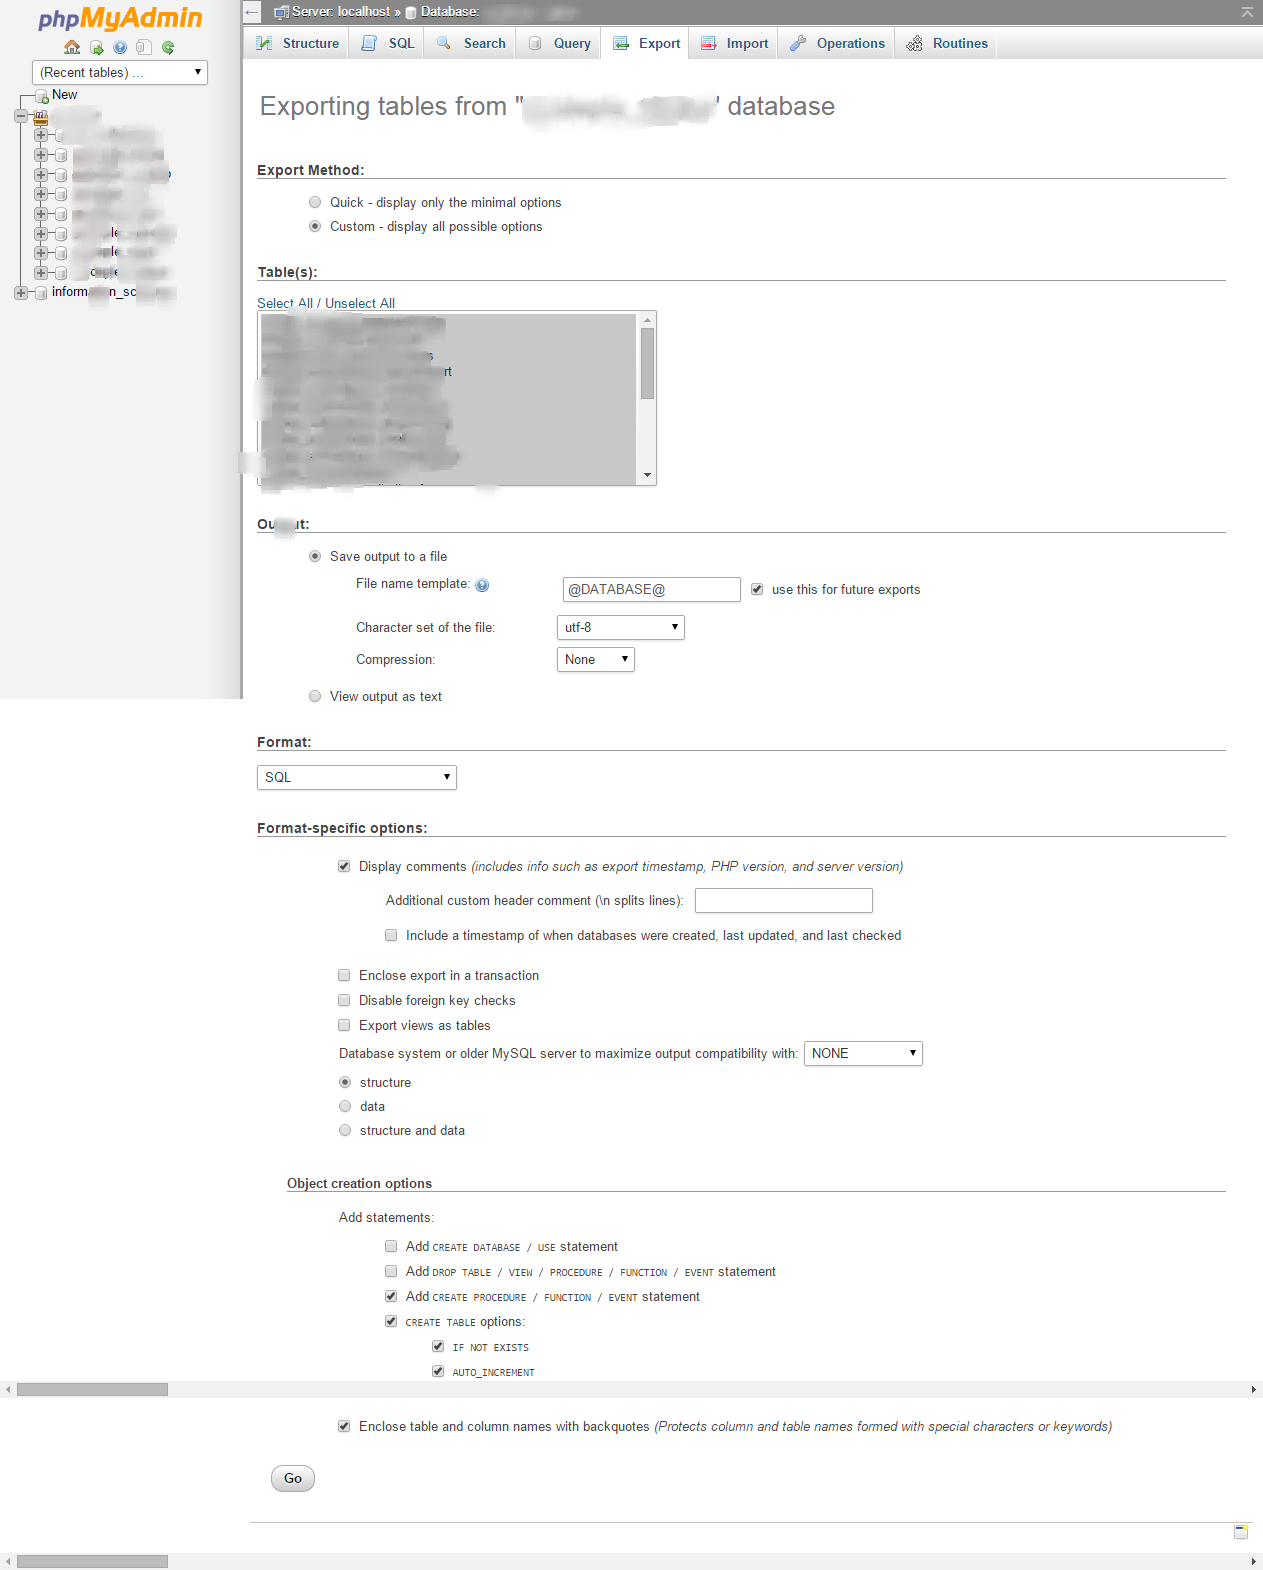
- Select the export method as Custom, because we may need to modify the database being backed up
- Upon selecting Custom, different options will appear before you and let you configure your database backup
- First of those configurations is a tables’ box, it lets you select tables you want to backup. By default all tables are selected, but since different WordPress plugins do also create their own tables, so we may need to de-select them. Because we are only going to want to backup WordPress core tables.
- Second option is Output. Select output to a file (if it isn’t already). Here, make sure File name template is @DATABASE@. Character set of file is utf-8 and compression is whatever format you want your backup to be in i.e. zipped, gzipped or none.
- Third option is Format. We want our backup format to be SQL
- Fourth option is Format-specific options. From this section, make sure following are selected:
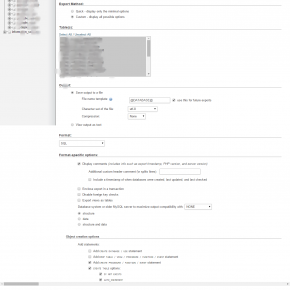
– Display comments
– Structure
– CREATE TABLE options
– IF NOT EXISTS
– AUTO_INCREMENT
– Enclose tables and columns names with backquotes - Other checkboxes must be de-selected other than these
- Now hit “Go”
Congratulations, friend! You successfully backed up your WordPress site mysql database. This can be used later to restore backup.
A list of installed themes and plugins
We are going to make lists of themes and plugins that are installed on your WordPress site, not just those in activated state. Okay? The reason we are making lists and not downloading wp-content/themes and wp-content/plugins directories as whole is because any of your theme or plugin might have been corrupted. Let’s follow steps:
- Open Notepad or any text-editor you like
- Inside it, start enumerating plugins’ names
- Make sure, you’re not just listing those in activated state
- Save this file in your hard drive and name it “XYZ-plugins-list”
Now it is time we made a list of themes. Follow:
- Ditto copy paste above steps
- Just make sure instead of plugins, you’re listing themes’ names
- Save file as “XYZ-themes-list”
You can later use these lists to install themes and plugins from start.
Downloading Uploads Directory
We have backed up our site database, which contains all the posts, comments and various settings of your site at the time of making backup. These included only posts, comments, etc. NOT images. So it is time we made sure we have our images in some safe place. All images that you have uploaded to your posts or site reside in wp-content/uploads directory. So we will download this directory and back it up. Follow the following steps to download wp-content/uploads:
- First of all you will need an FTP client. If you don’t have FTP client already, download my favorite one here.
- Once downloaded and installed, open it.
- You will need to connect to your server. For that you need: Host, username and password.
- Username and password are same as you use to login to cPanel. Host might be different. Ask your hosting provider if you don’t know what’s yours.
- Once logged in, locate to: root/public_html/yoursitedirectory/wp-content
- Right-click uploads directory and click Download
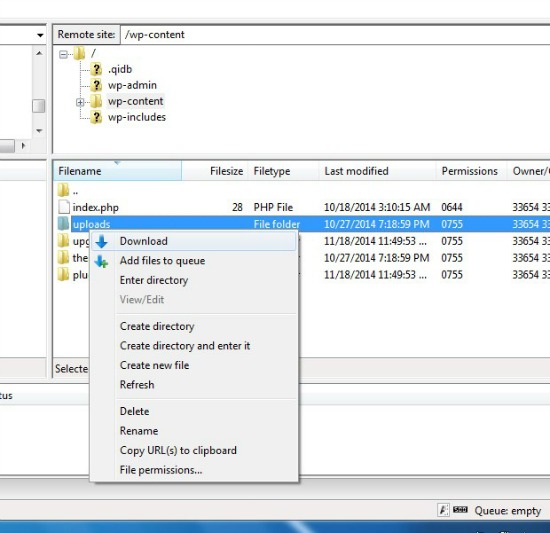
- Make sure to place it somewhere safe free from viruses or malware.
Now you have all images you’d ever uploaded to your WordPress site, it is time we moved on.
Exporting XML file
Under Tools > Export, there lies a functionality that offers you to generate and download WordPress eXtended RSS or WXR file. Well, you might ask like I did as to what is the difference between a database backup and WordPress XML file. And is it not sufficient to only have a database backup? Or XML file is sufficient? Let me answer these questions.
XML export file is a kind that contains pretty much all the “important” stuff. Things like posts, pages, comments, categories, tags and basically the content of the site and not the settings. Settings you make in Settings menu and it’s submenus are not part of this XML file. Whereas a database backup stores not just the content or important stuff, rather settings are an integral part of it.
Something to be noted: database cannot be replaced by XML file. I mean, you MUST have database backup. You cannot afford to say, “I have got my XML file. I don’t need a backup!”
Now is the time that we will generate and download our WordPress XML export file. This is necessary because you might want to later important content into a new WordPress installation. Or simply, it’s important enough to keep. Follow the steps below to download this file:
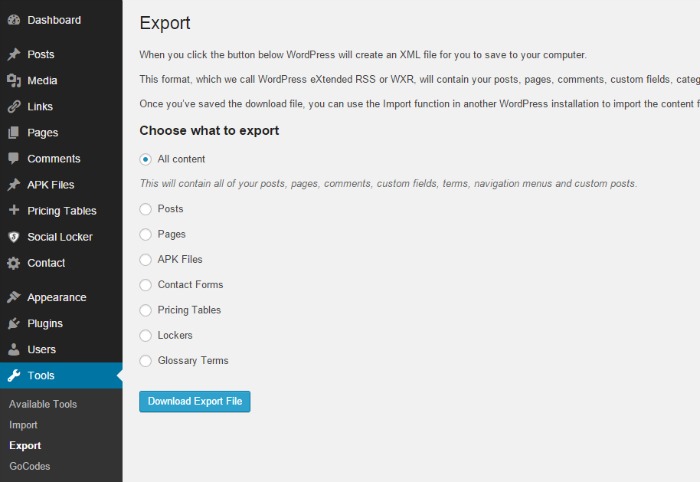
- Go to Tools > Export
- XML file is highly configurable, meaning you can use provided filters to decide content you want it to contain. If you select “All content”, all the content of your site like posts, pages, comments, custom fields, terms, navigation menus and custom posts. If you don’t want all the content or want to exclude some post type from the file, you should make use of filters.
- Once done with filtering, click “Download Export File”.
- Downloaded? Good! Placed it somewhere really safe? Excellent!
Conclusion
Congratulations! You have successfully backed up your WordPress website. But be forewarned, you must take your website backups regularly and not just rarely. Because whatever backup you do right now will include only content and settings that you have made till backing up! So this was manual way. Sure as hell we learned tons and we will continue to do so. Subscribe if you want to be notified for our next article called “How to Backup Your WordPress Site Completely (Automatically)”
[This post is part of WordPress Security series. If you care about your WP site, do follow the series!]

thanks for telling us about how to backing up the wordpress
Brother, very very thanks for share this valuable article with us. Please share how to back up wordpress post.
You can backup all WordPress posts by just backing up WP-Content folder and WordPress database 🙂
Thanks Buddy Now i really get my backup.!
Chill 🙂 Keep visiting to get more stuff.